Context.
Currently, the Focaltec Control de gastos portal can automatically invoice expenses generated and verified by users through “Tickets”.
If you need to enable automatic invoicing, you will need to request support to configure it within the Focaltec Control de gastos portal.
Steps to enable automatic billing in Focaltec Control de gastos.
The Administrator must request support to perform a configuration by submitting a ticket or sending an email to soporte@focaltec.com or ayuda@focaltec.com, with the subject line “Enable Focaltec SnapBill”.
You will need to verify that the option is enabled and configured from: “Accounts > Company > Edit account > Expenses > Focaltec SnapBill”.
Once it is confirmed that the configuration is available within the Focaltec Control de gastos portal, the “My Tickets” menu will be visible.
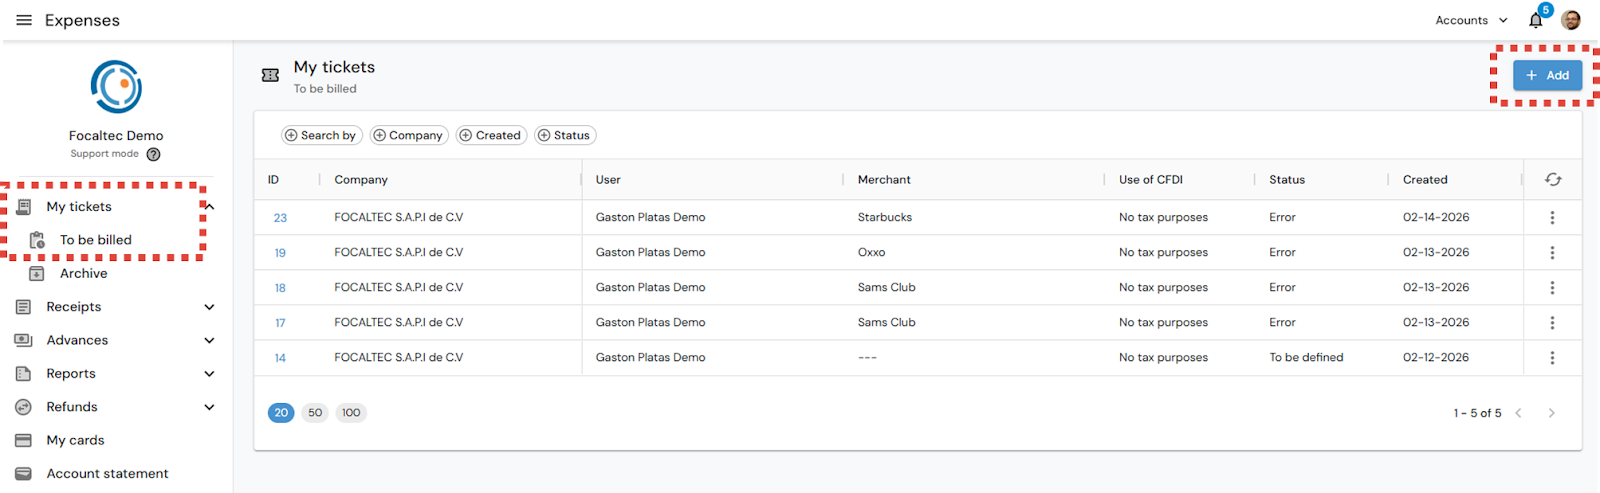
The User enters the Focaltec Control de gastos portal and selects the option “My tickets > To be billed > + Add”.
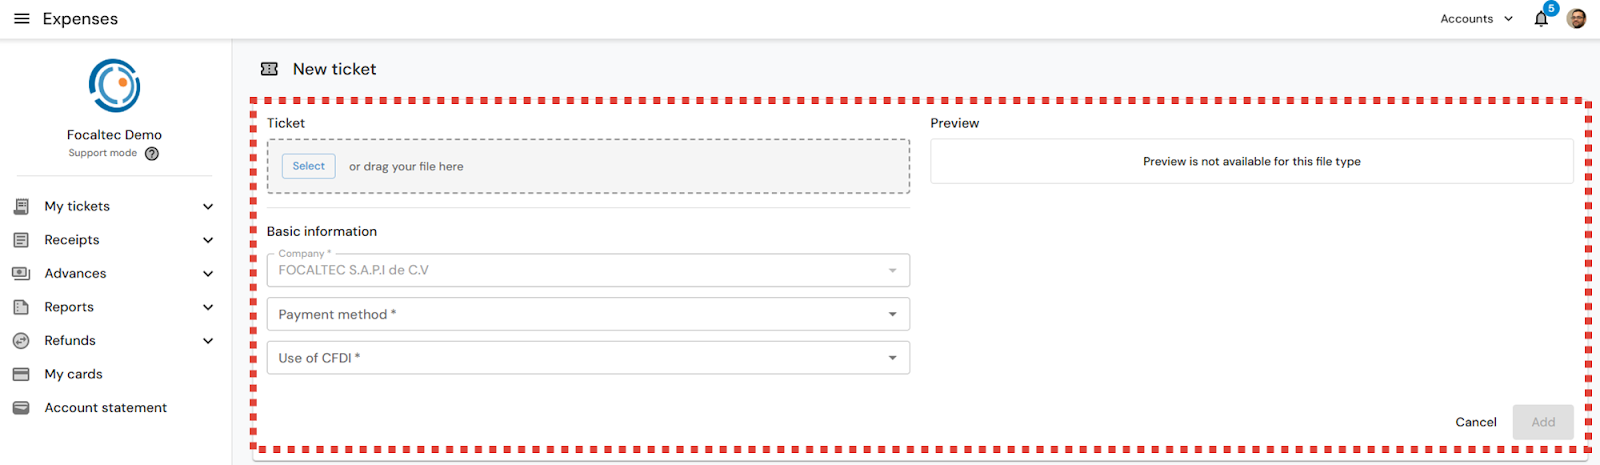
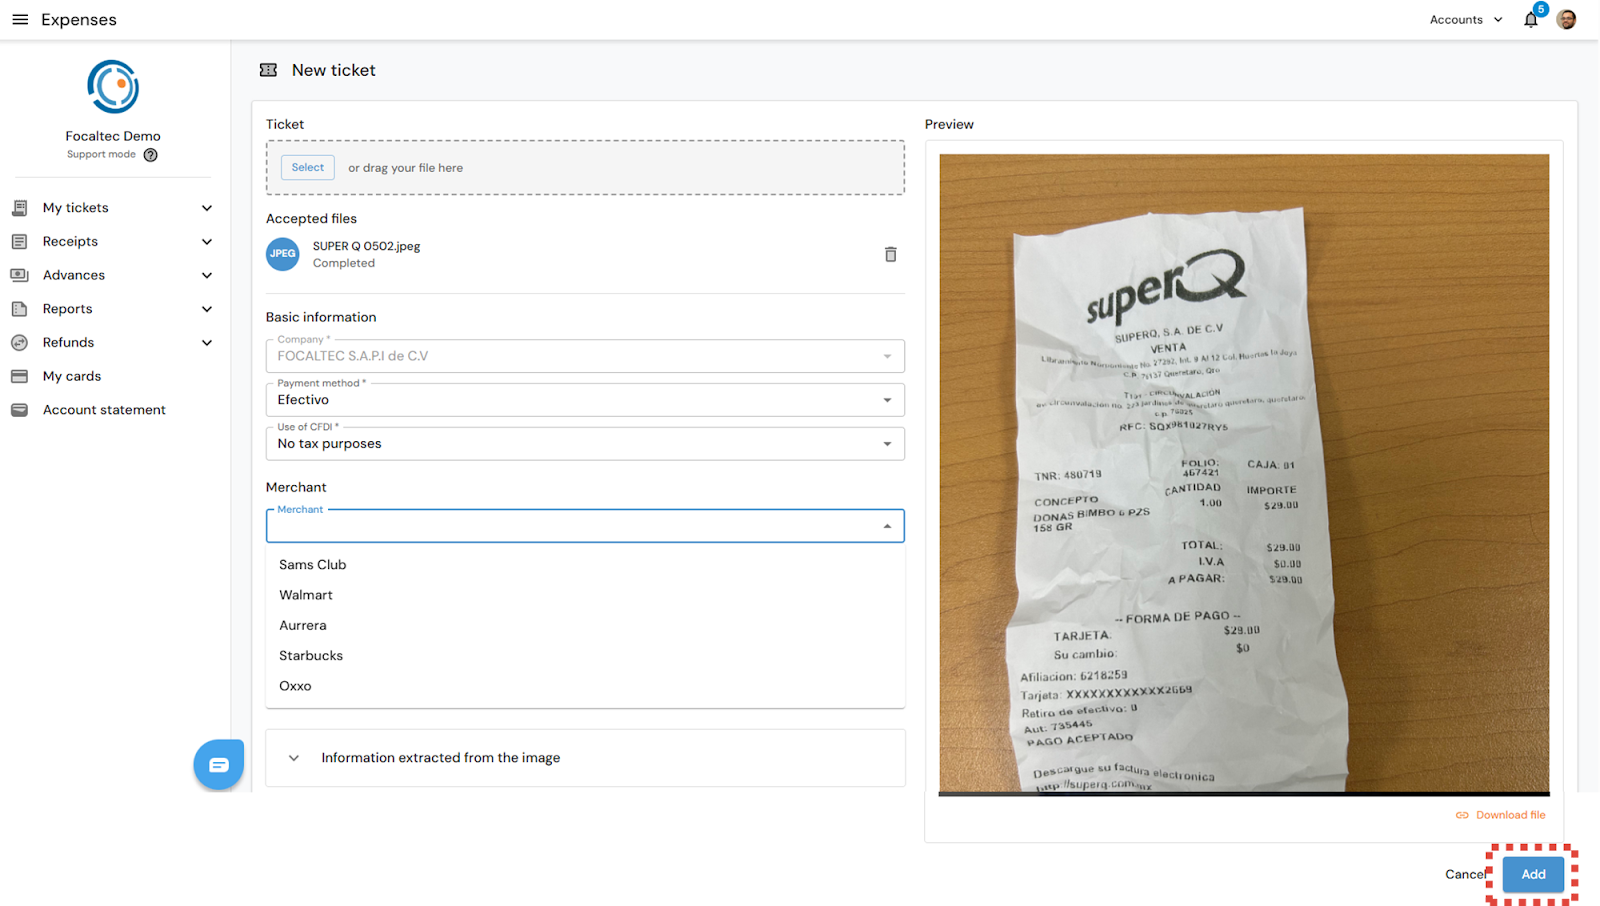
You must select and complete a series of information in order to generate the invoice. Once you have finished entering and registering the information, click on “Add”, you will see that the portal will begin to process the ticket:
Ticket. Allows you to search for or drag the file from your computer.
Company. Displays the company to which the expense will be associated. This field is pre-filled with the corresponding company and allows for selection when applicable.
Payment method. Select the payment method through which the expense was generated.
Use of CFDI. Select the use that will be assigned to the invoiced CFDI.
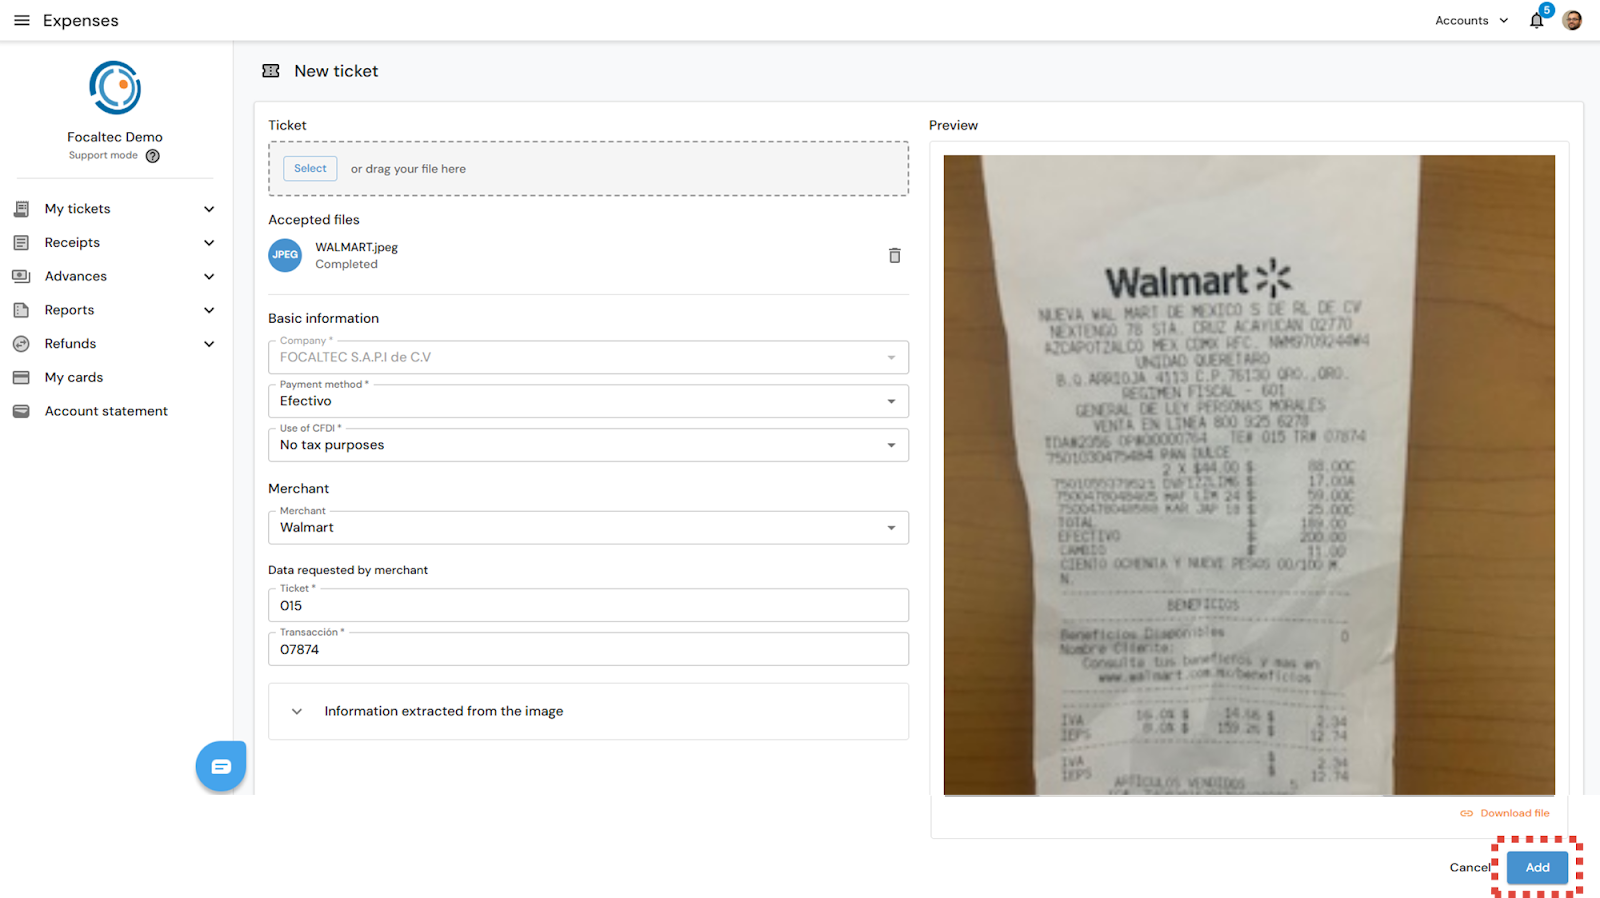
Merchant. Select the store where the expense was incurred. If it does not appear in the list, you can leave it blank and continue.
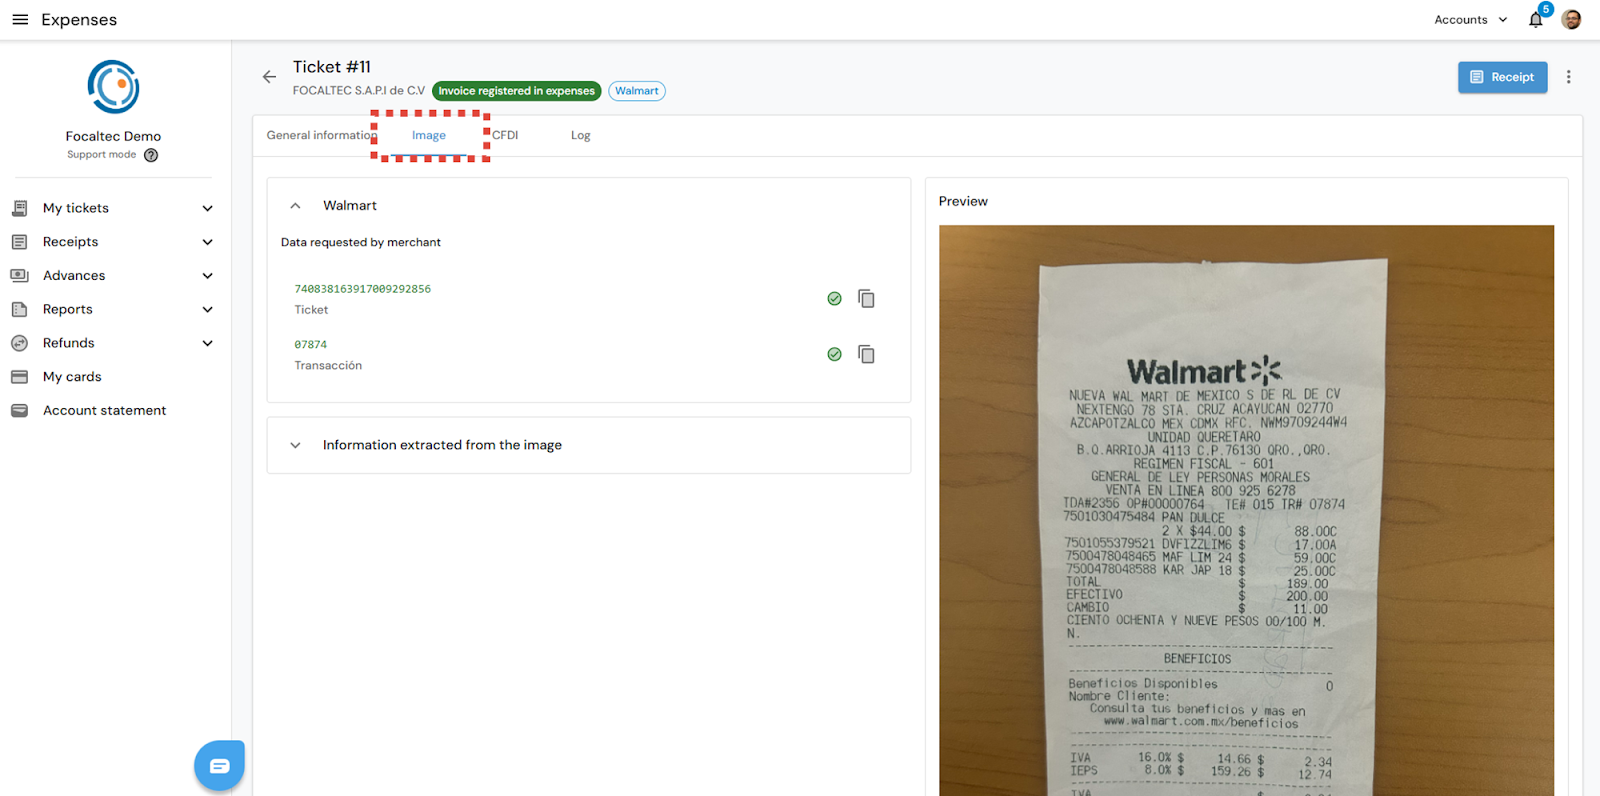
Information extracted from the image. After uploading the ticket and processing the information, the portal will display the data obtained from the ticket.
Preview. The added ticket is displayed.
After adding a ticket, the portal will be “Processing” the information in order to generate the “XML - PDF” invoice.
When the User adds a ticket, there are two possible scenarios:
Aggregate trade
Non-aggregate trade
Depending on whether or not the business is added, a series of activities must be carried out, as detailed below.
Aggregate trade.
After adding the ticket, registering, and selecting the merchant information, click “Add”.
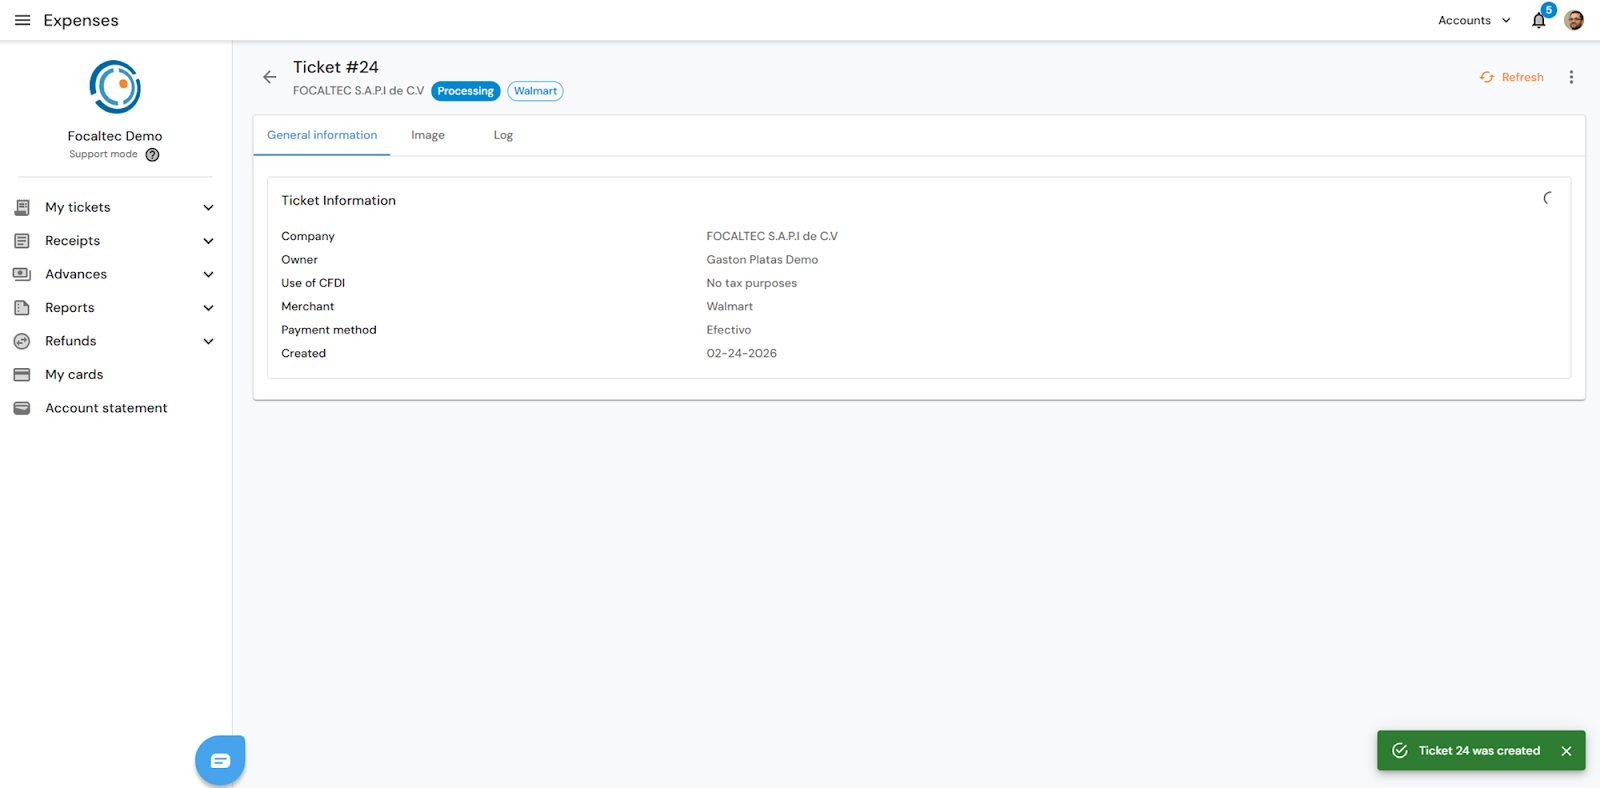
The portal will begin processing the information in order to generate the invoice automatically. You will see the following alert: “Ticket XXX was created”, you can also see that your ticket has the status “Processing”.
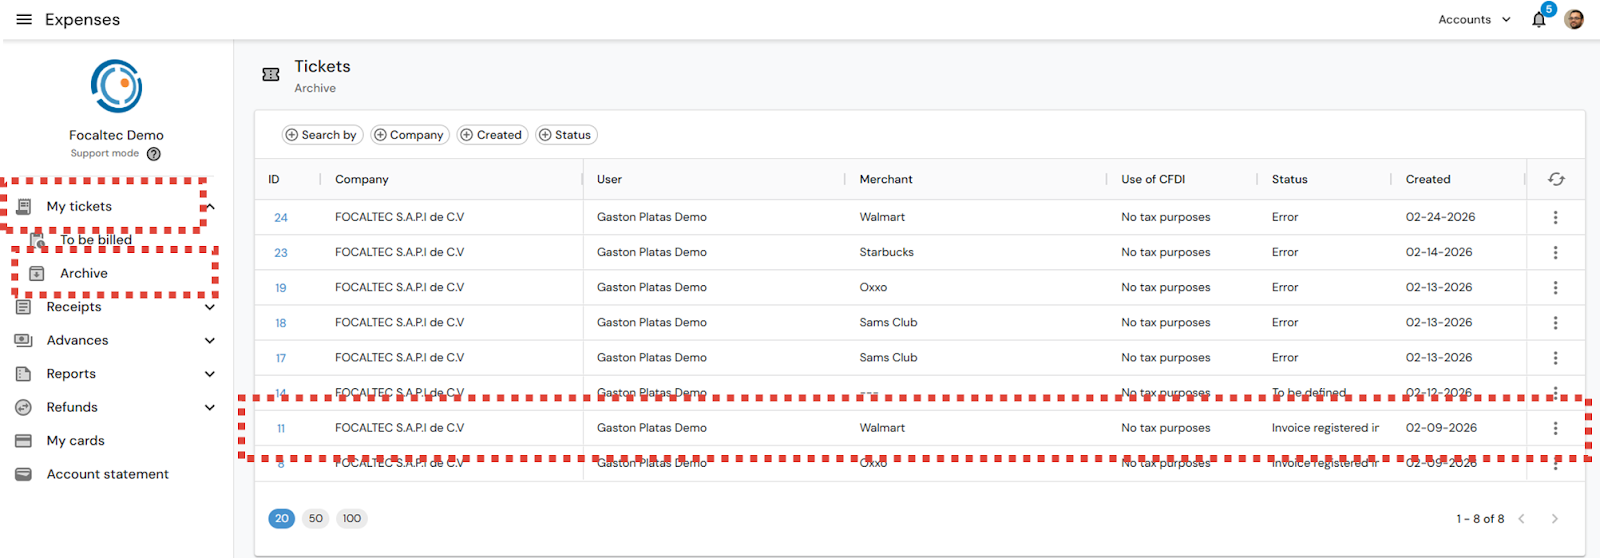
After a certain amount of time, the Focaltec Control de gastos portal will have generated the invoice. To review the files from the portal, select the option “My tickets > Archive > Click on the ID”.
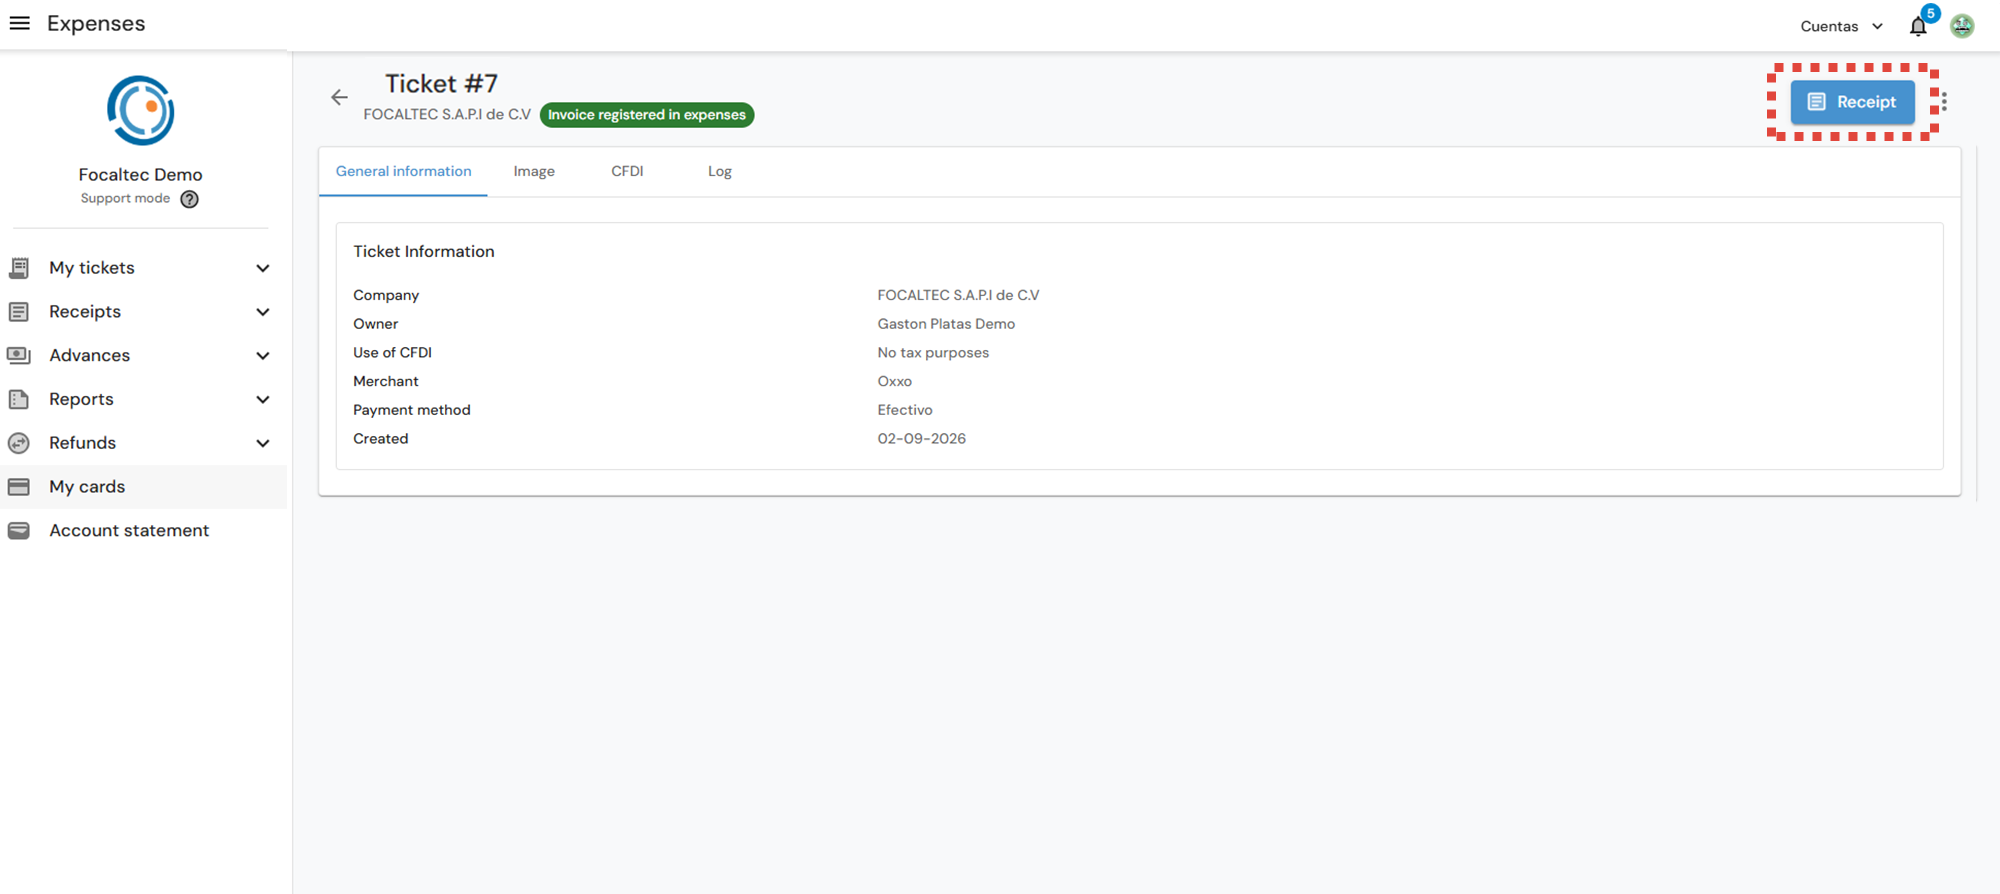
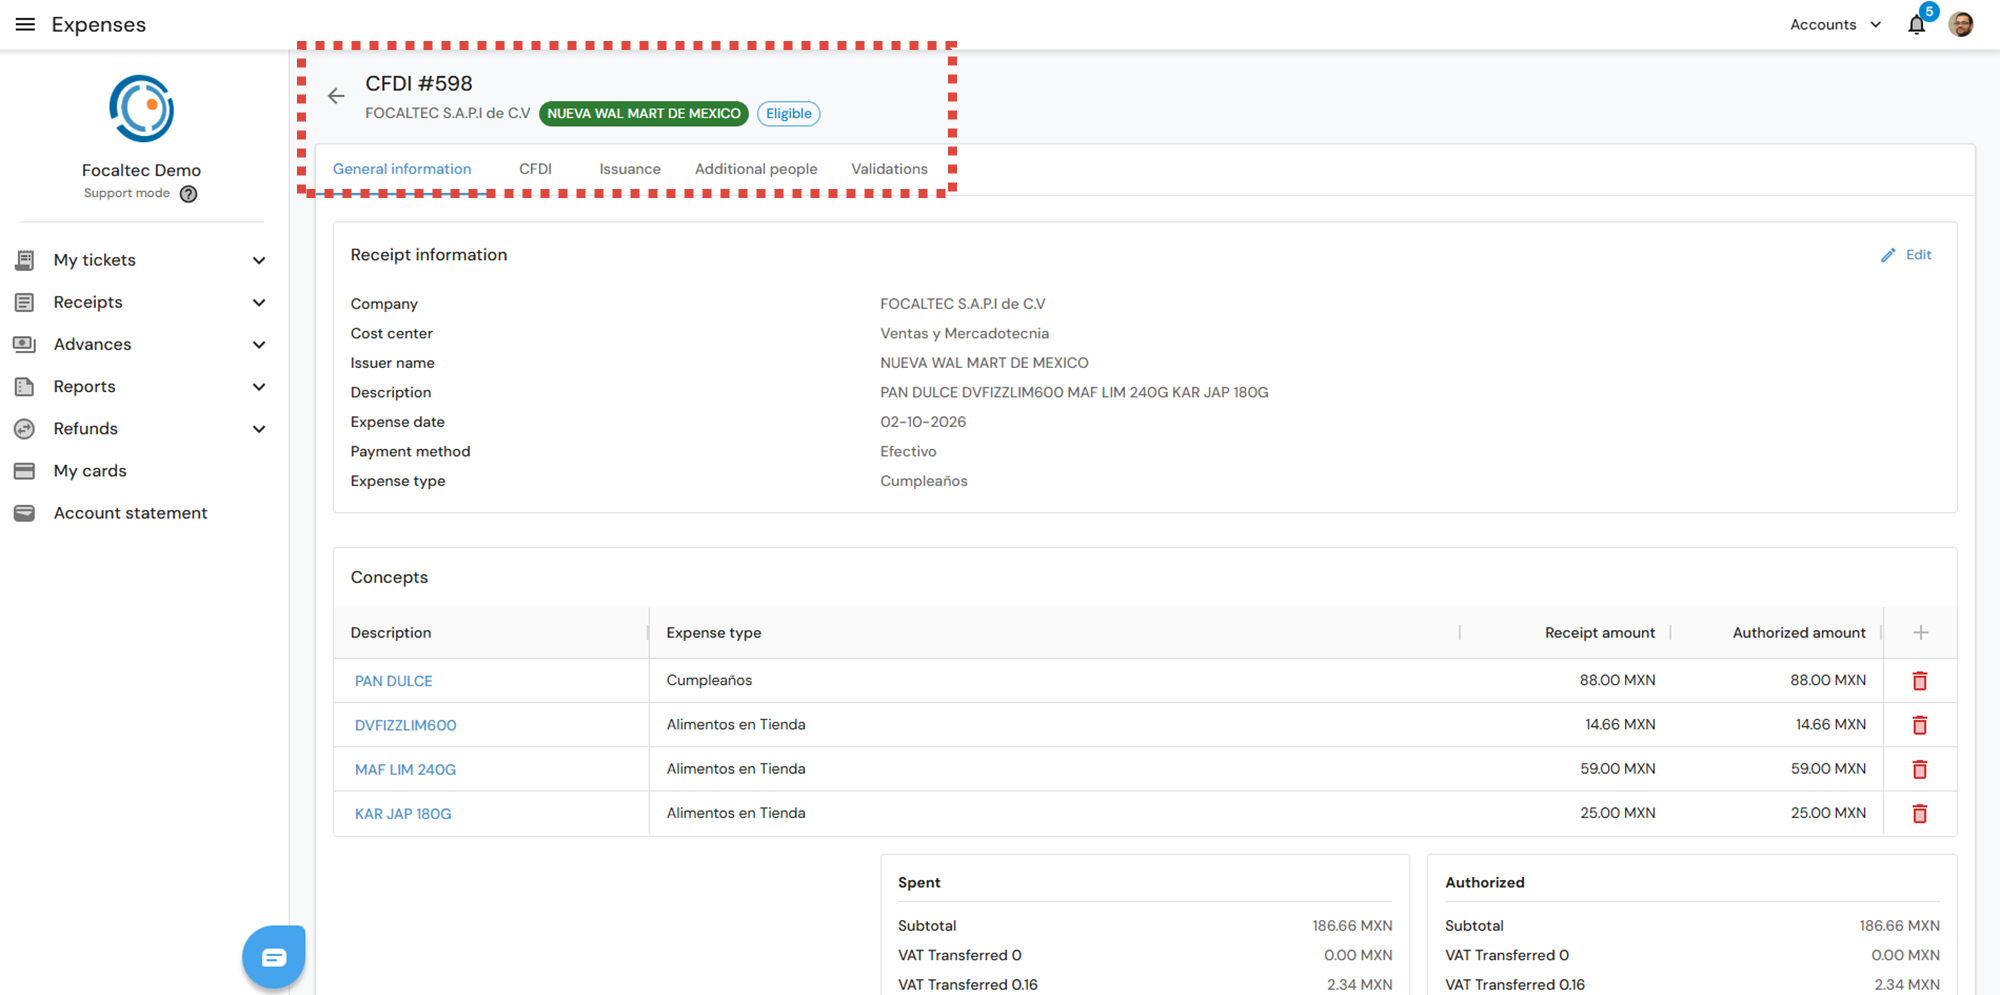
The “Ticket” details show four tabs: (General Information, Image, CFDI, and Log). The ticket will be in the “Invoice registered in expenses” status. To view the information in each tab, click on it.
General information. Displays general information about the ticket entered into the portal.
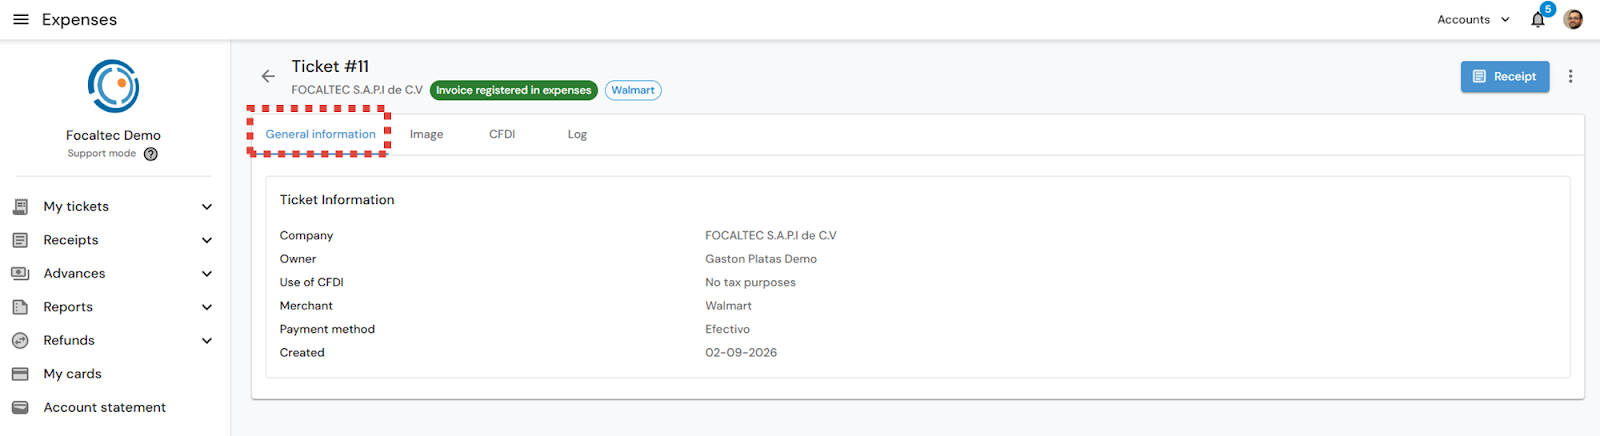
Image. The document entered as a ticket is displayed in order to generate the invoice.
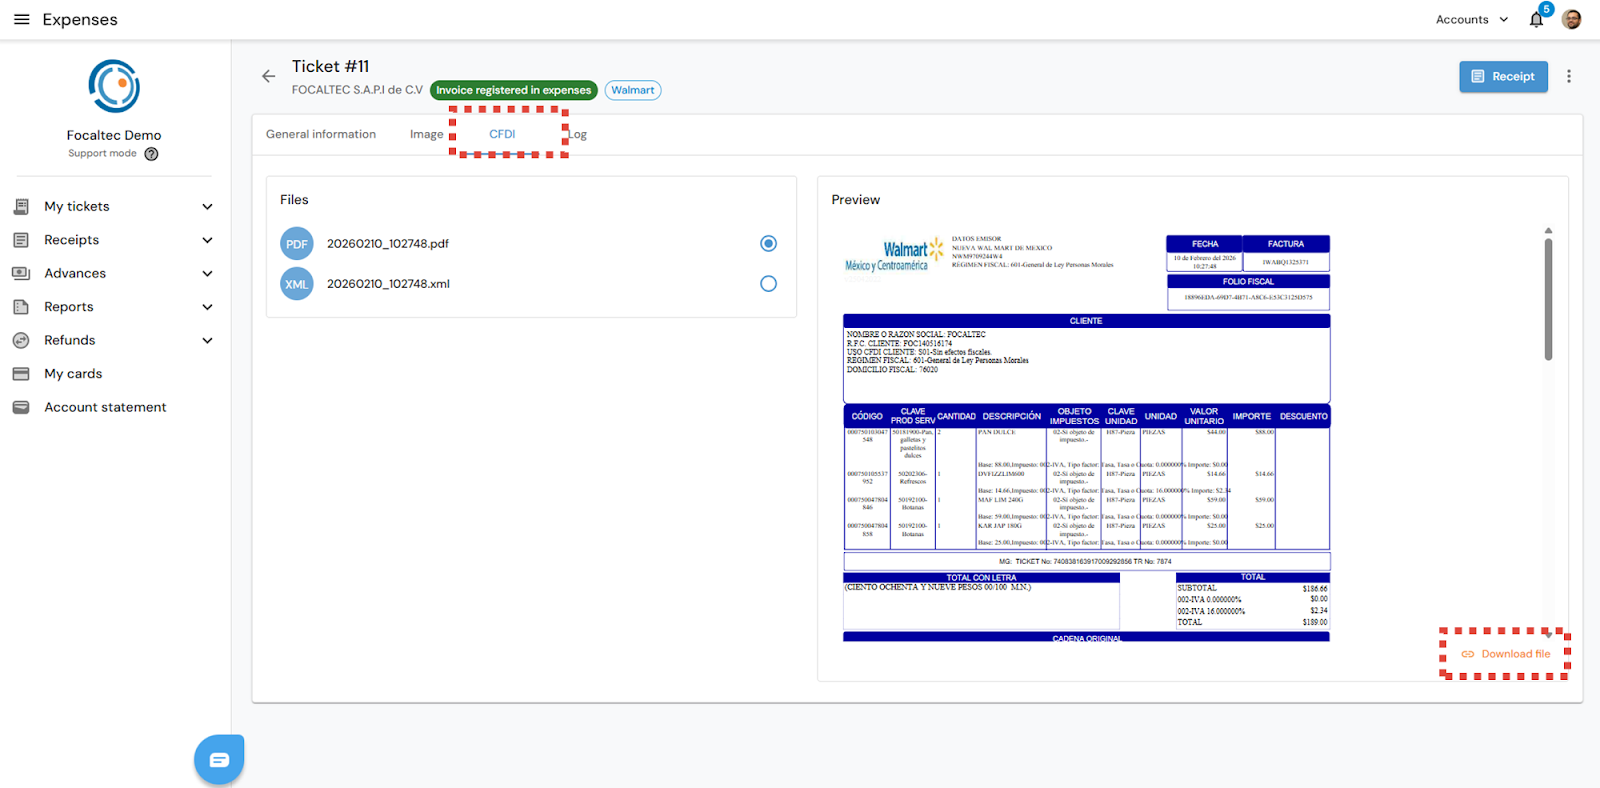
CFDI. The “XML - PDF” files of the generated invoice are displayed. If required, the files can be downloaded.
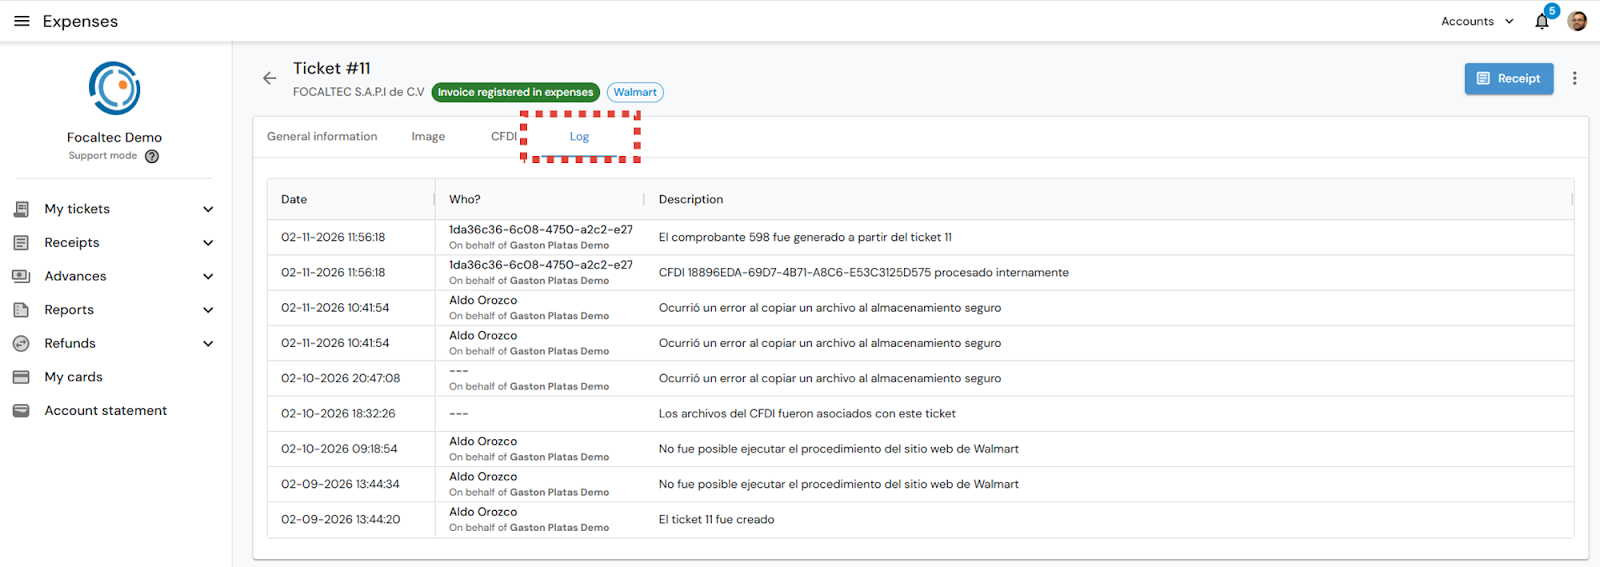
Log. The history of each of the stages or actions that have been carried out for the ticket can be viewed. The key data are: Date and time (date and time of each of the activities or actions that have been carried out), Who? (name of the user who carried out the activity), and Description (the activities or actions carried out, in the form of comments or statuses).
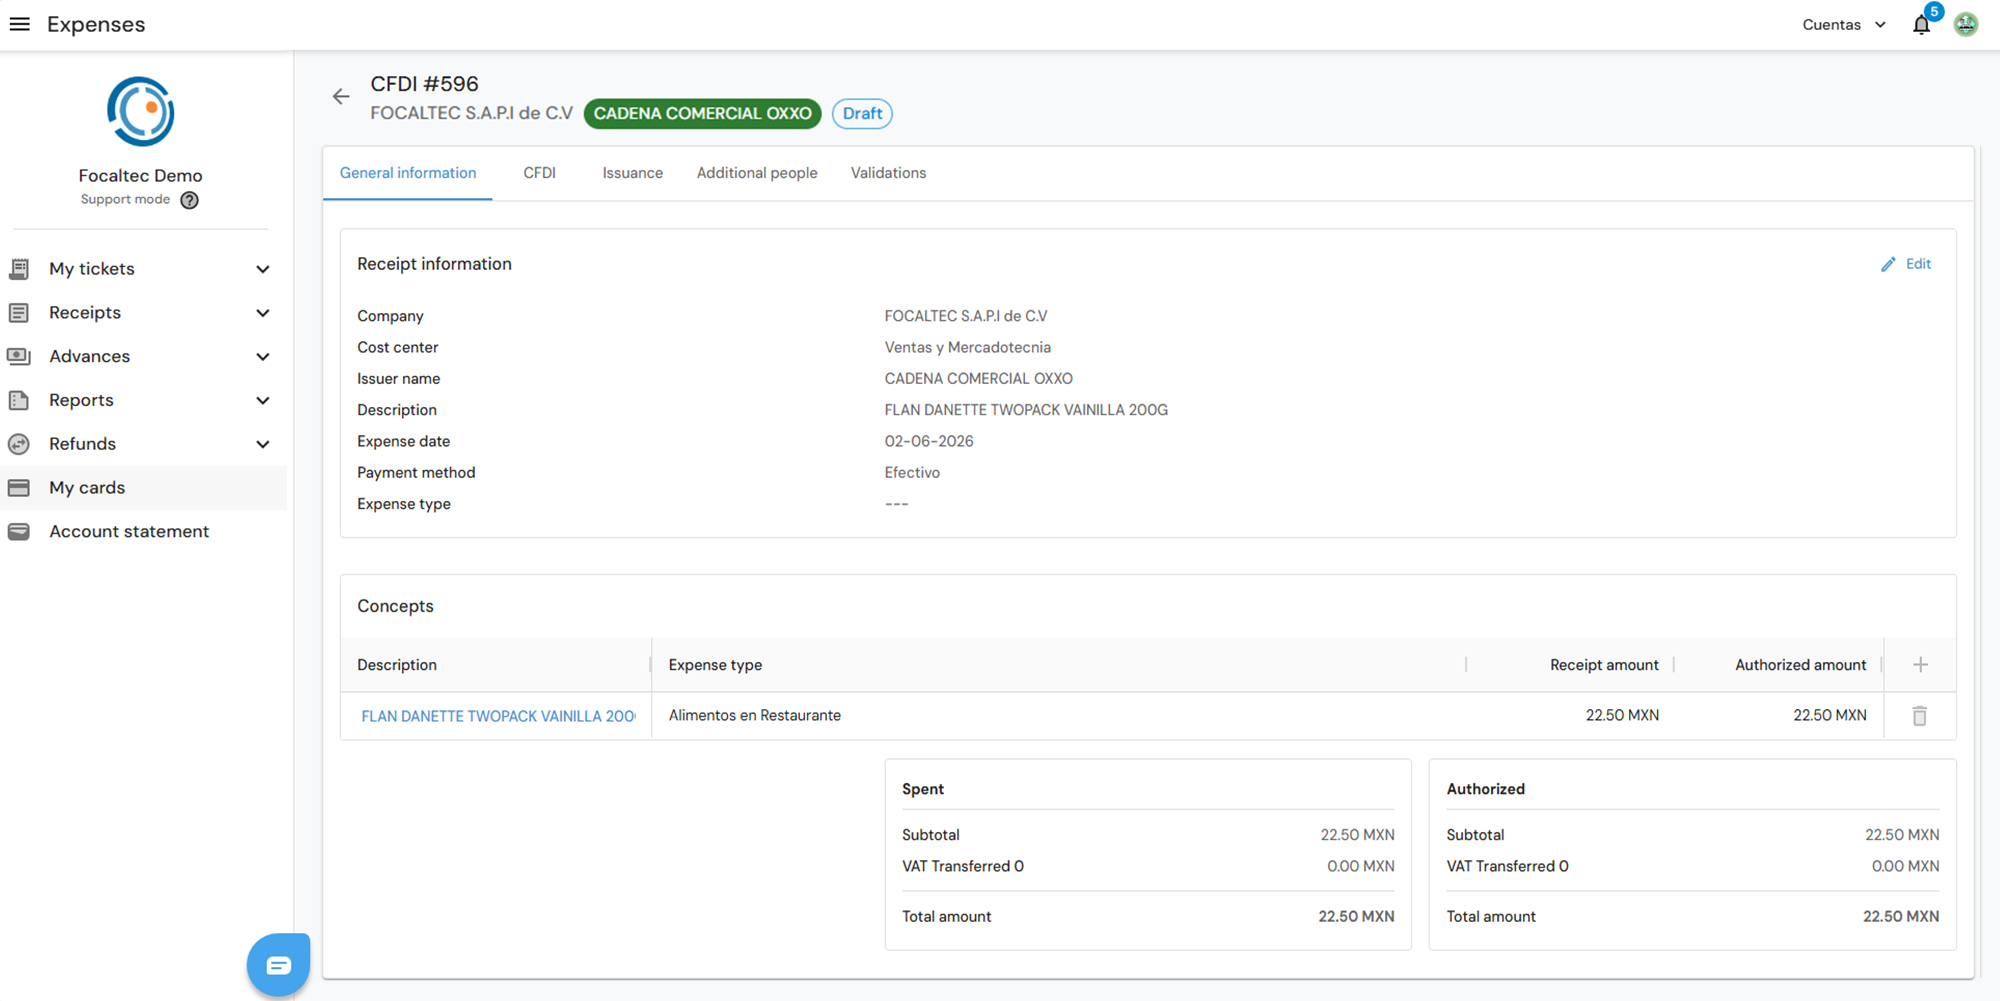
Finally, from the “Receipt” option, you can view the details and add information to the receipt that is registered on the portal and, if necessary, enter additional information.
Non- aggregated trade.
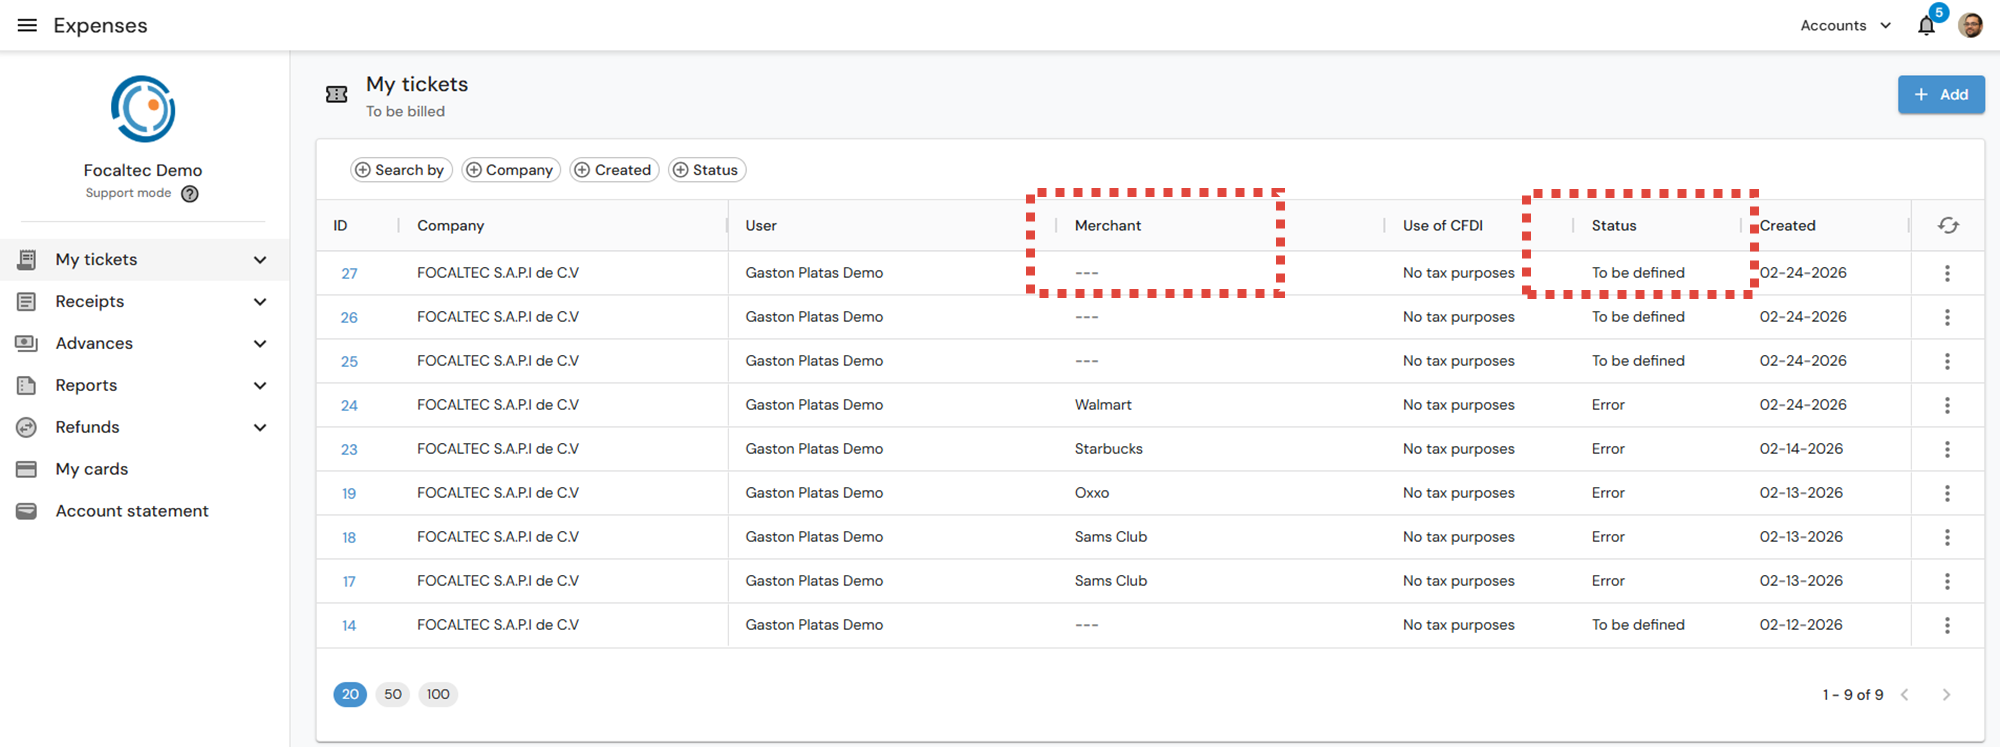
When the business is not registered, from the “My tickets” view you will see that the “Business” columns will be empty and the “Status” will indicate “To be defined”, in this case, you have the option of adding the “XML - PDF” invoice manually.
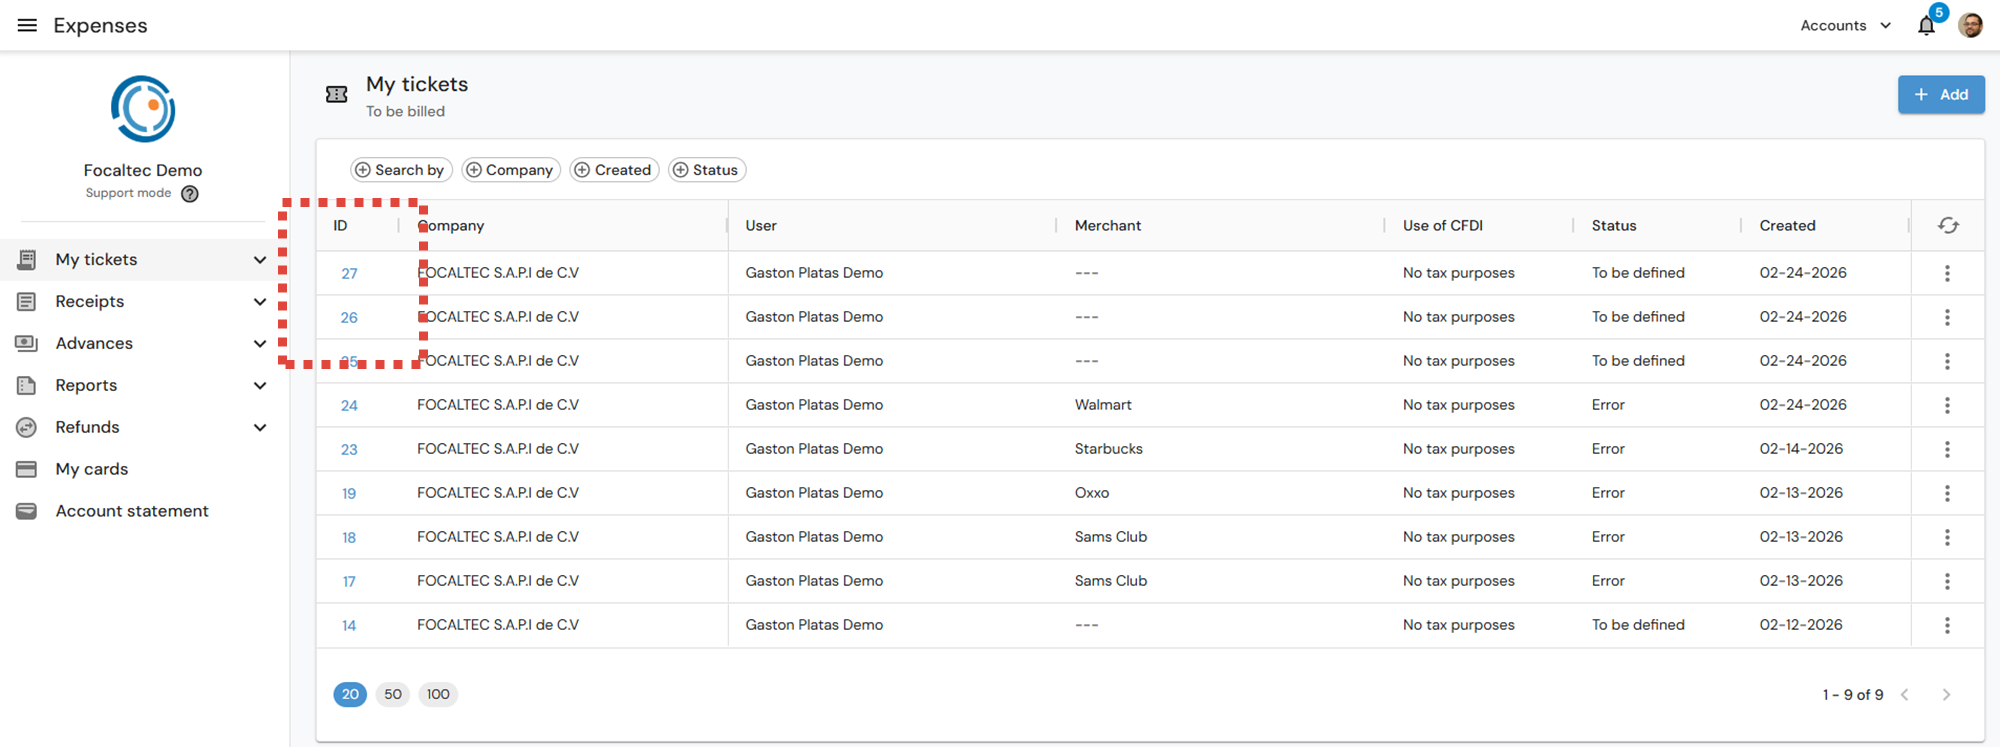
Click on the ticket 's “ID”.
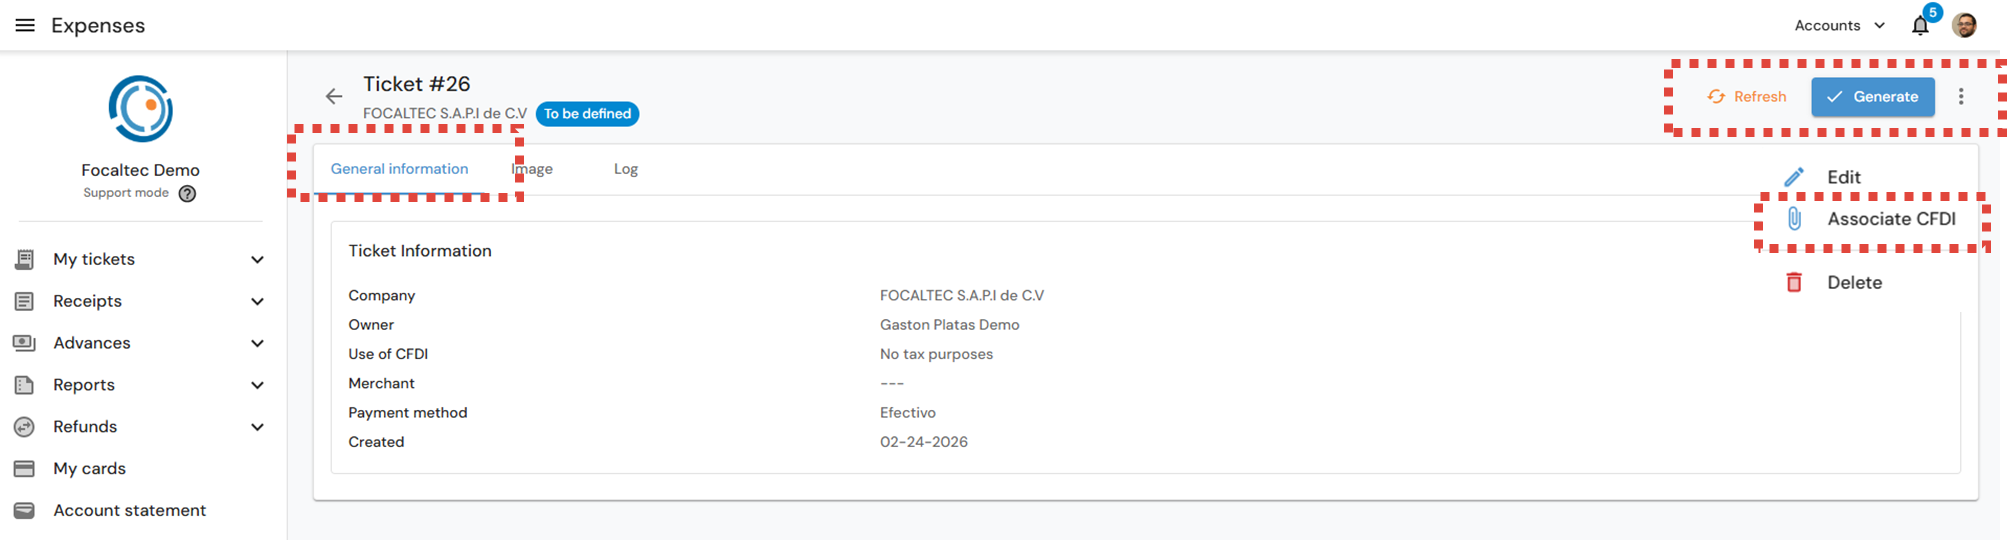
Once you are viewing the ticket details, you can perform several actions to obtain the invoice:
You can “Edit” the information and select the store.
If it displays the selected trade, click on “Generate”.
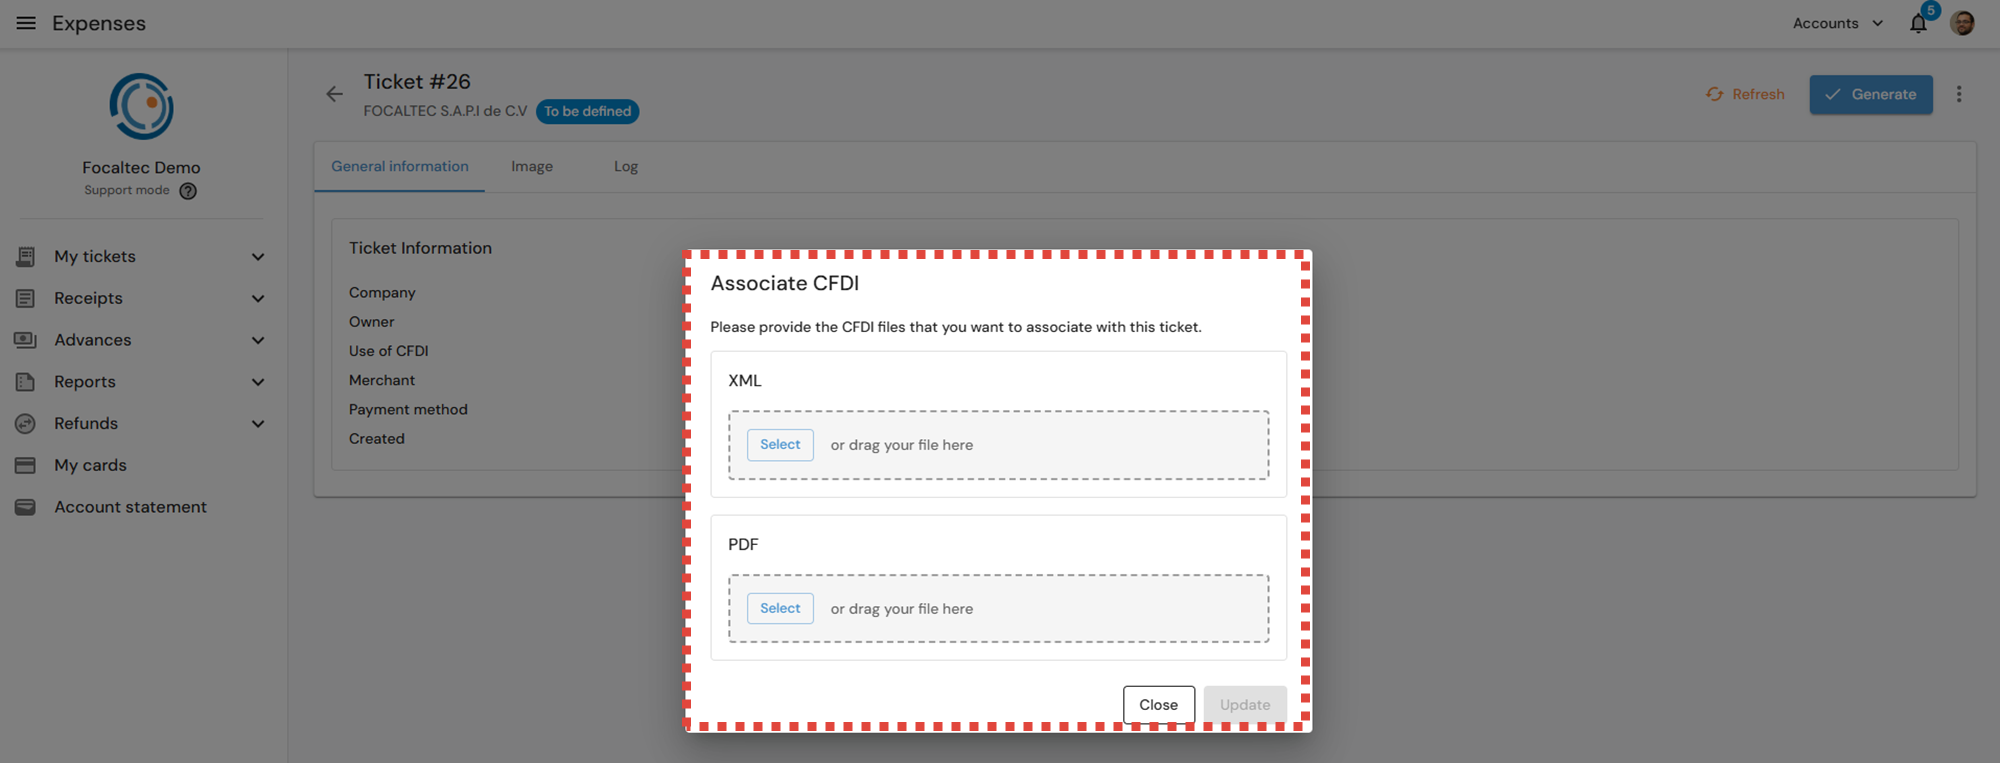
You can also “Associate CFDI”.
When selecting the “Associate CFDI” option, the invoice must first have been entered and generated from the commerce portal. Now, the portal will display a subwindow where you can search for or drag the “XML - PDF” files, then click on “Update”.

3. The portal displays an alert stating “The CFDI has been associated with ticket XXX”, you will also see the new status “Invoice registered in expenses” and the option “Receipts”, by clicking on it, you can view the details and information of the generated invoice.